A note if you’re having trouble getting your disks recognized by Zos: some farmers have had success enabling AHCI mode for SATA in their BIOS
Clearing disks is necessary in order for Zero OS to make use of them. I’ll explain a method that uses a live Linux distro for the job, and also link to a guide for accomplishing this within Windows. The Linux shell commands may work on MacOS too—if you try it please let me know.
From Linux
You can use a minimal live Linux distribution like grml or Ubuntu Server to boot the system to a command prompt and enter the commands below. I like grml because it’s small version is only 400mb, whereas Ubuntu Server is 1.4gb. However, some farmers report that grml won’t boot on their system.
After you download the live Linux iso file, burn it to a USB stick using a tool like dd or balenaEtcher. Then plug the USB stick into the 3Node and select it as the boot device.
Please use extreme caution with the commands below to avoid unintended data loss. Following this guide will clear everything from the disks in the system.
At the terminal
Most of the commands below need to be run as root. Grml gives you a root command prompt by default, but other distros may not. If you see a $ sign rather than a # on the terminal, you’re not root. You can run this command first to switch to the root account:
sudo su root
To see what disks are connected, run (that’s an “l” for “lion”):
fdisk -l
Take note of whether you see nvme in any of the outputs. You can identify which disk is the USB hosting the live Linux with:
df -h
Look for the entry matching the size of your USB stick. You’ll see an error that this device is busy, which is fine since we don’t need to wipe the USB stick.
On some distributions besides grml, you might also notice other disks listed in this output, which means they were auto mounted. If that’s the case, change the command below to wipefs -af to force wiping even mounted disks, including the USB stick.
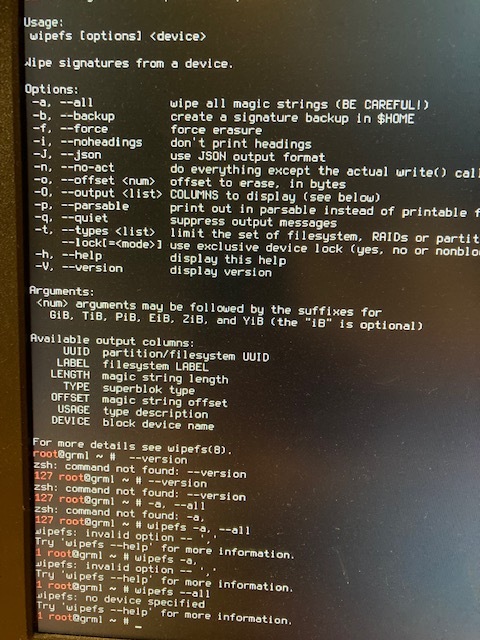
To clear all disks, run this command:
for i in /dev/sd*; do wipefs -a $i; done
If you have any fdisk entries that look like /dev/nvme, you’ll need to do this too:
for i in /dev/nvme*; do wipefs -a $i; done
For each disk where there was something to be wiped, you’ll see a few messages that some bytes were erased at some location. To check for success, you can run fdisk -l again. Only the USB stick should have a Disklabel entry, every other disk should not.
Then you’re finished. Try booting up Zos now and check that all disks are properly recognized.
Windows
Try this guide: https://www.seagate.com/support/kb/how-to-diskpart-eraseclean-a-drive-through-the-command-prompt-005929en/#