
Dear Friends,
This post is intended for friends at TomoChain  . Both ThreeFold and TomoChain share common values and there is an enormous potential that can be exploited together, especially when it comes to leveraging ThreeFold’s peer to peer cloud network .
We will quickly demonstrate how to setup a TomoChain node on the ThreeFold Grid . The purpose here is to get people started. The configuration can be tweaked to perfection with other experts in the community.
Most of the deployments have a common pattern and just require a change in the underlying flist and inputs. The rest of the process for all deployments is more or less the same.
What we will do ?
- Setup your 3bot and install the 3sdk
- Log in and create your Network
- Get your wallet loaded , don’t worry, we have FreeTFTs
- Deploy your TomoChain container
- Access your TomoChain container
- Verify your TomoChain deployment
Before you start, we have 2 networks publicly available
- Mainnet @ https://explorer.grid.tf
- Testnet @ https://explorer.testnet.grid.tf
Our Recommendation : *Start deploying on testnet as ThreeFold gives free nodes to deploy and play around with. Mainnet is production and paid for. Therefore, from settings in the 3sdk menu, switch to TESTNET *
Step 1 - Setup the 3sdk
The 3sdk is a tool that allows you to setup your 3bot and give you access to the ThreeFold Grid for your deployments (containers, virtual machines, S3 storage and so on). The wiki provides detailed instructions on how to set up the 3sdk .
If this part is done, rest should be extremely easy as management is done via web interface.
To access the 3sdk admin interface, in your browser use the following link,
http://YOUR_IP_HERE:7000 or https://YOUR_IP_HERE:4000
7000 is the http port and 4000 is the https port
If you installed locally on your machine, you can use http://localhost:7000
Step 2 - Log in and Create your Network for Deployment
From the previous step, http://YOUR_IP_HERE:7000
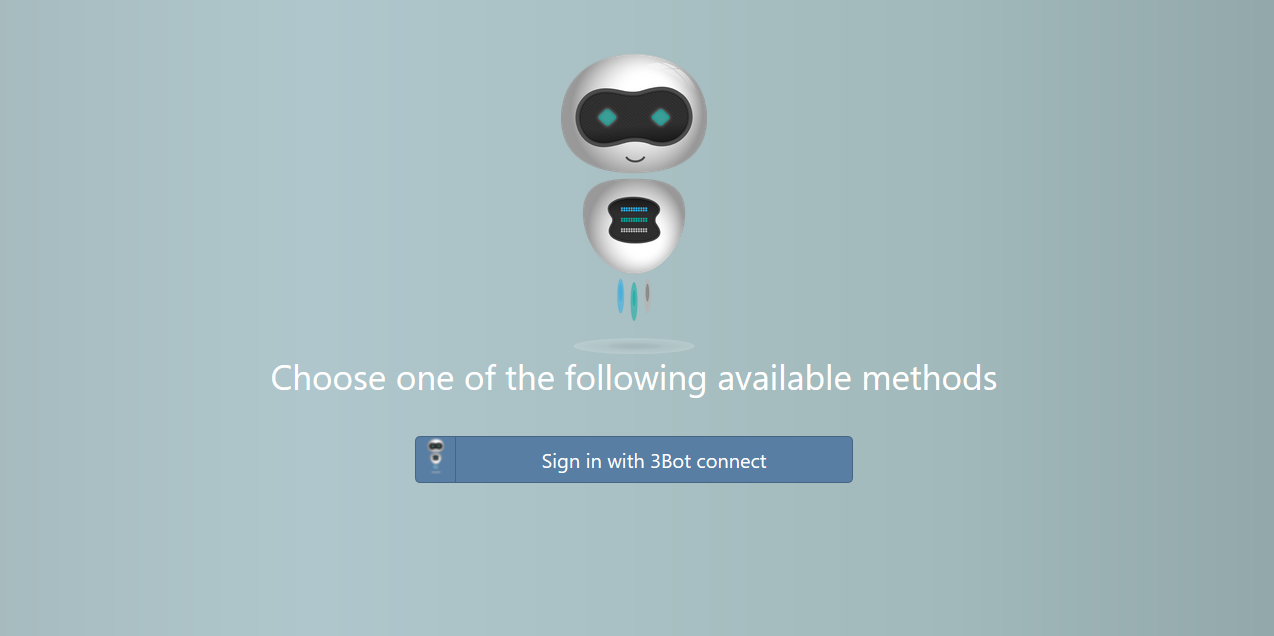
Log in here with your 3bot. Make sure you open the 3bot connect app first!
Once you log in, Go to Solutions and then go to Network . The interface is user-friendly and it should be easy. Few things to note,
- Use IPv4 network unless you are sure you have IPv6. You can test IPv6 connectivity here
- It is better to have the chat bot configure the network for you unless you have specific requirements
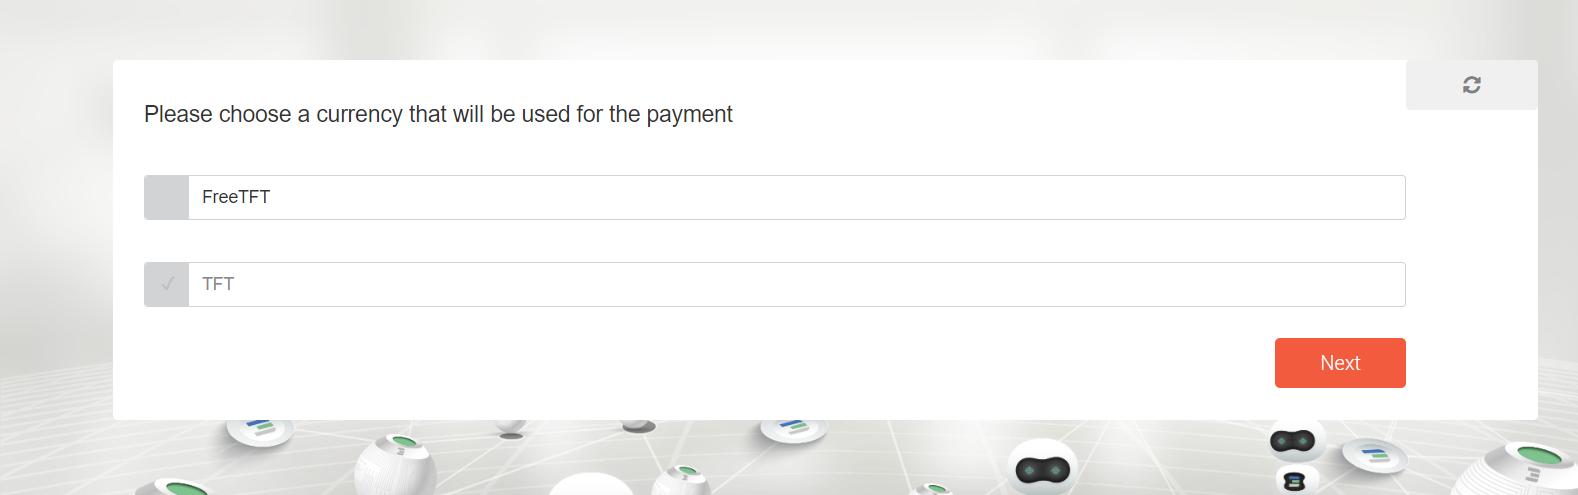
- Ideally start with FreeTFT as your network currency
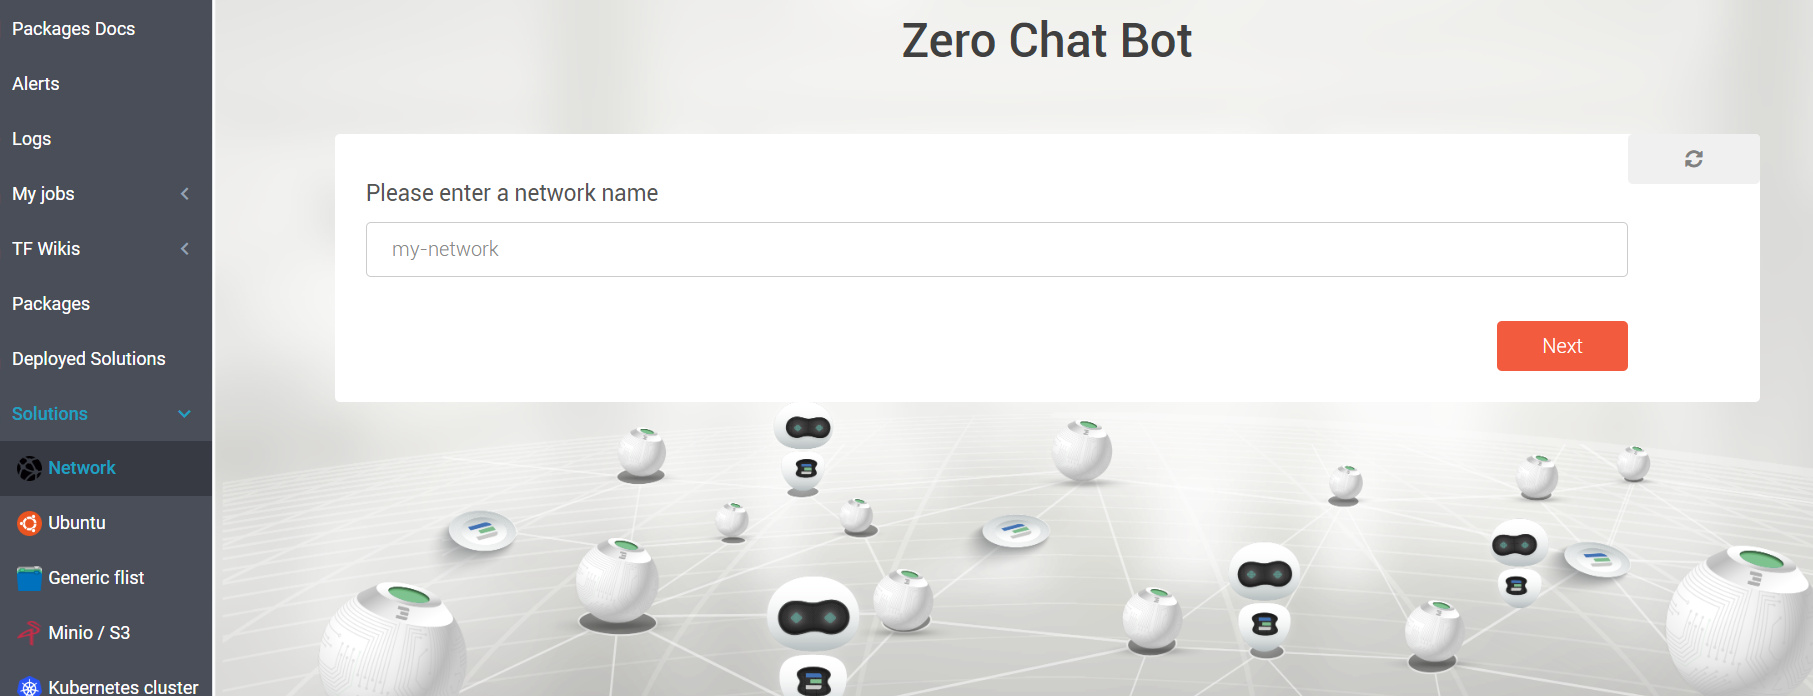
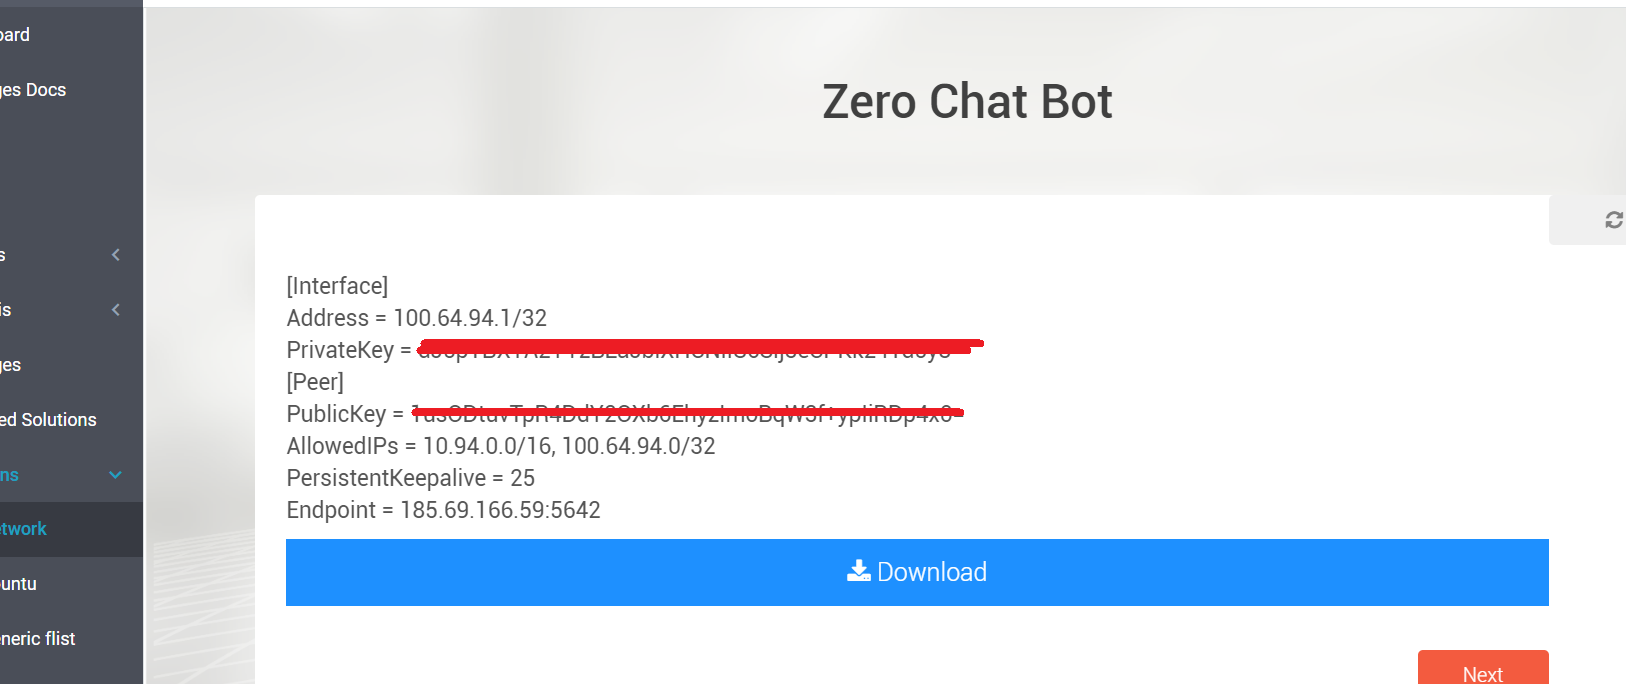
Note : The wizard will ask you to download your Wireguard configuration. This is important as you won’t be able to access your network without it. This serves as an entry point to your private network.
Step 3 : Get your wallet loaded - Get some FreeTFTs
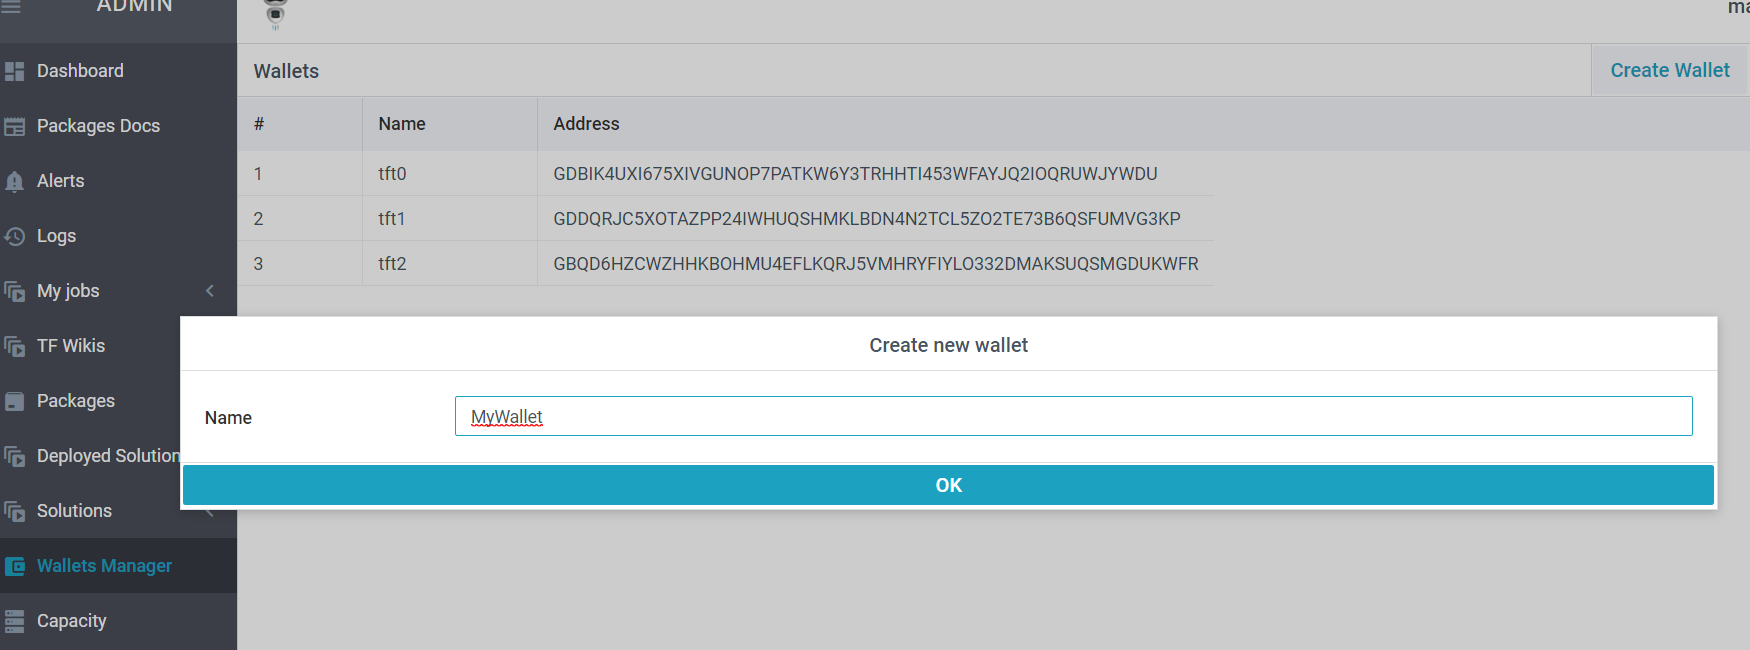
First things first, create a wallet from the Wallet Manager. It is pretty easy actually,
The next step is to get your wallet funded, there are 2 ways,
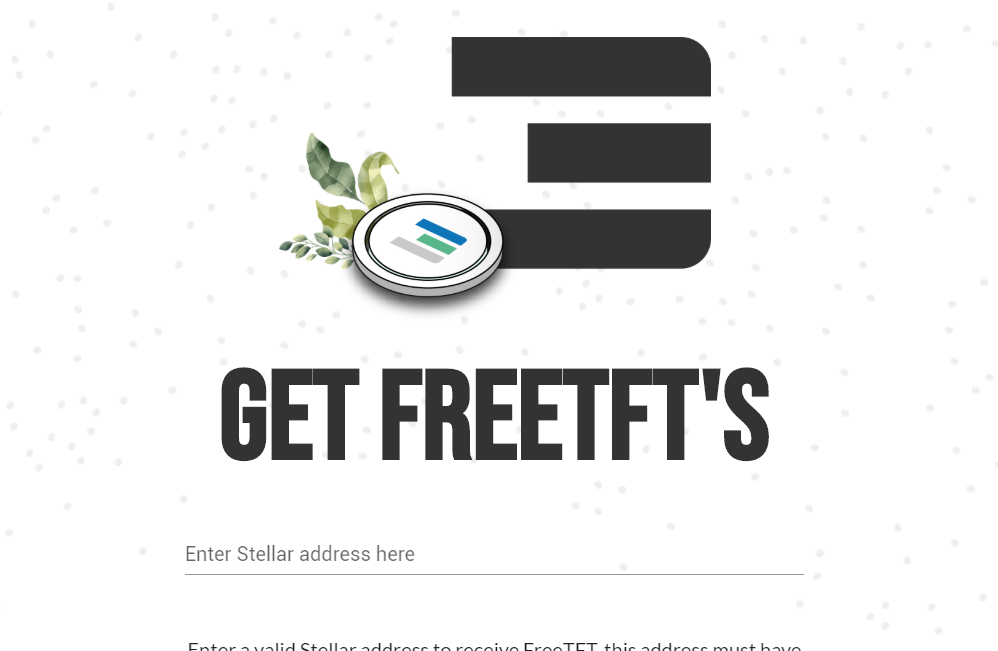
To get FreeTFTs for testnet, use this link => https://getfreetft.testnet.threefold.io
Login with your 3botID which you created in the 1st step and provide the wallet address. You get 1000 FreeTFTs per wallet. This should be adequate ! The stellar address is the simply the wallet address. Our transaction layer is on stellar.
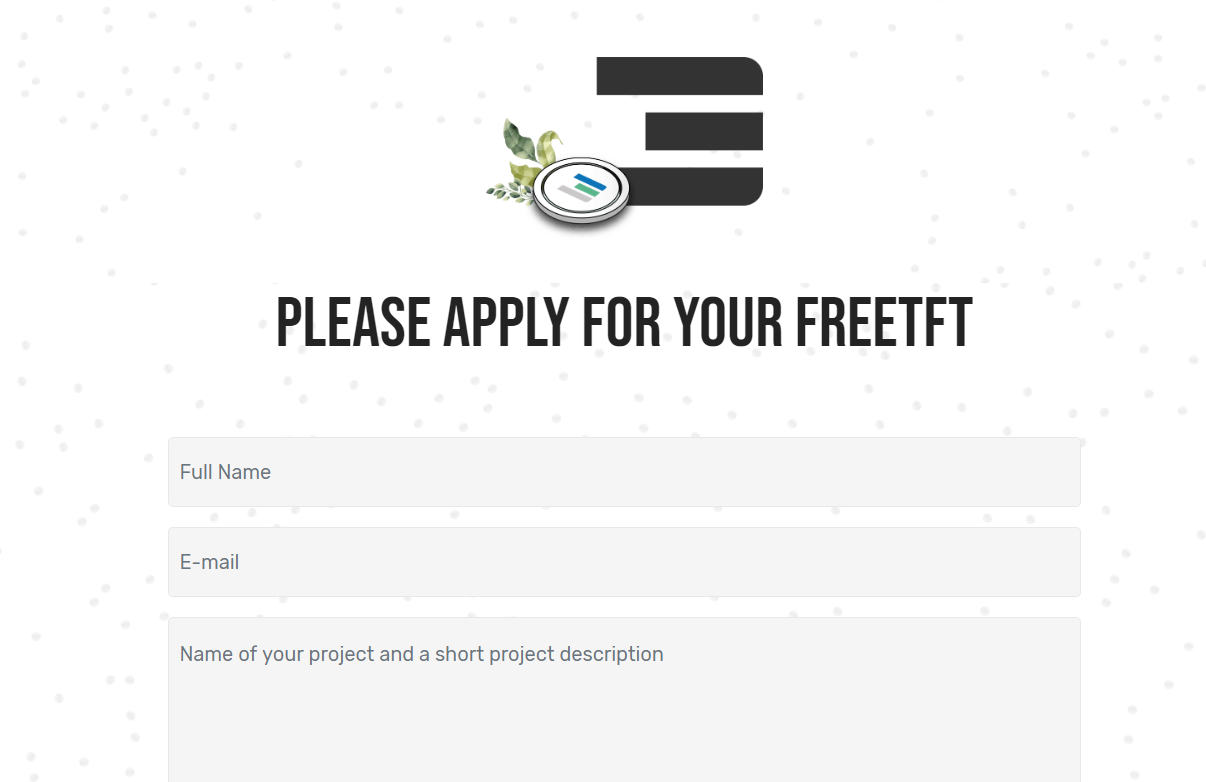
To get FreeTFTs for Mainnet, use this request form => https://www.getfreetft.threefold.io
Step 4 - Create your TomoChain Container - Time to Rock 'n Roll
Under Solutions , go to Generic flists , the wizard will guide you accordingly.
-
Select the network name which you created. Your container is going to be deployed in this network.
-
Enter the container name, size in terms of CPU and memory. Ideally start with 2 CPUs and 2048 MB memory.
-
The flist link you have to use is => https://hub.grid.tf/arehman/v2-tomo-1-1.flist
-
Would you like access to your container through the web browser (coreX)? Select NO. You may want to use this for troubleshooting.
-
Set the IP address from the drop down list you want to assign to your container.
-
The container entry_point should be set to
/start_tomo.sh. We call tomo’s entrypoint script within our script. All of this can be customized as per requirements. -
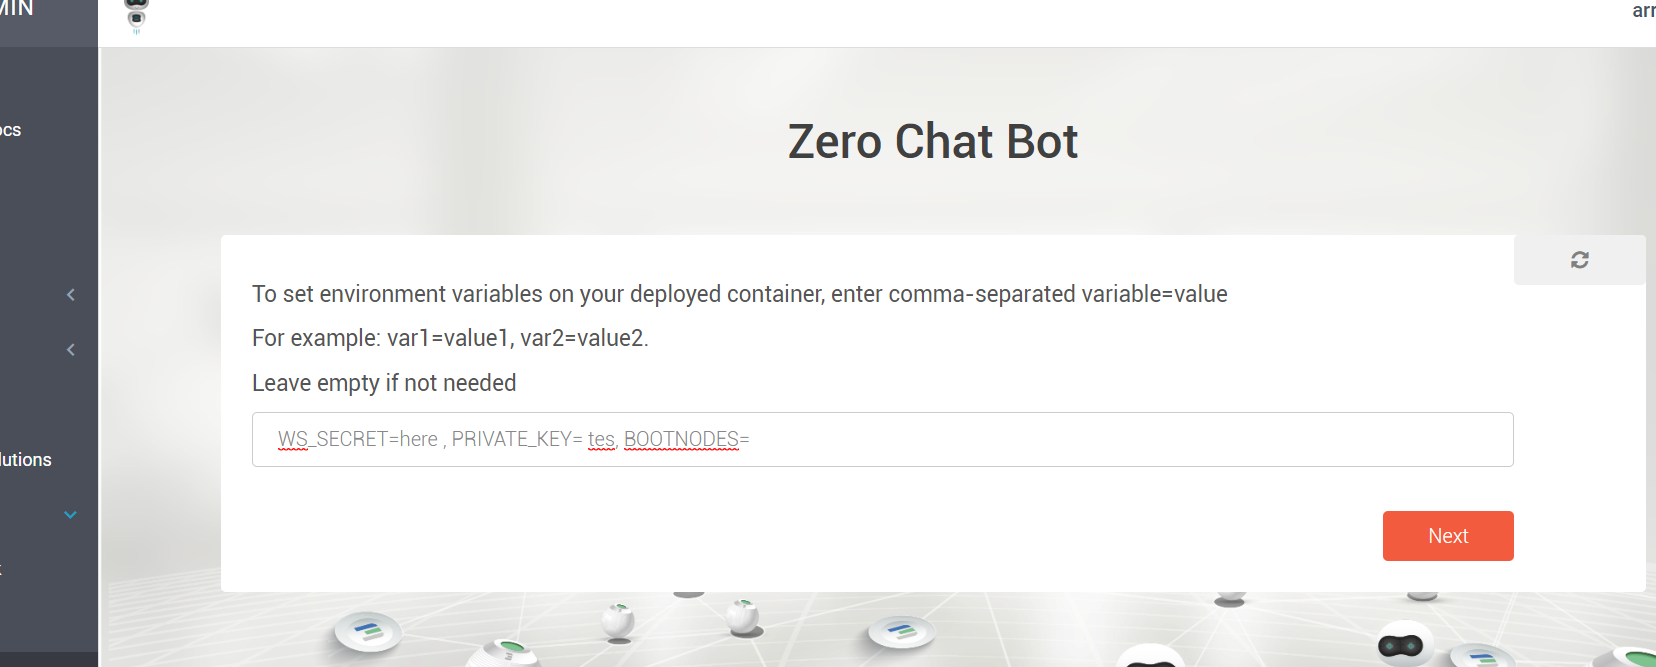
Under environment variables, use pub_key=your_public_key_here . This would allow to SSH into the container once it is deployed. The rest of the environment variables need to be passed also.
TomoChain Environment Variables - IMPORTANT
# - IDENTITY (default to empty)
# - PASSWORD (default to empty)
# - PRIVATE_KEY (default to empty)
# - BOOTNODES (default to empty)
# - EXTIP (default to empty)
# - VERBOSITY (default to 3)
# - MAXPEERS (default to 25)
# - SYNC_MODE (default to 'full')
# - NETWORK_ID (default to '89')
NOTE : How do I create my own TomoChain flist ? See this link
Tomochain’s entry point script should use them and launch the node with your identity.
How to generate TomoChain keys and secrets should be available under this link HERE
Here is a sample string that I have used in the environment variables section,
pub_key=my_pub_key_here,NETWORK_ID=88,IDENTITY=tf-tomo,BOOTNODES=enode://97f0ca95a653e3c44d5df2674e19e9324ea4bf4d47a46b1d8560f3ed4ea328f725acec3fcfcb37eb11706cf07da669e9688b091f1543f89b2425700a68bc8876@3.212.20.0:30301
Make sure to replace the values above with yours.
Note 1 : flists are like docker images used for containerizing applications. You can convert your docker images to flists here
Note 2 : Container mount points for persistent storage are not available at the time of this writing. They would be available soon in the chat flow.
If all goes well, this is how it should look like in the end. The main part is done !

Step 5 - Access your TomoChain Container
To access the container,
For Linux, wg-quick up path_to_wireguard_conf_file. For example, wg-quick up /my-wg/net-1.conf
For windows, Import the downloaded wireguard configuration from Step 1,
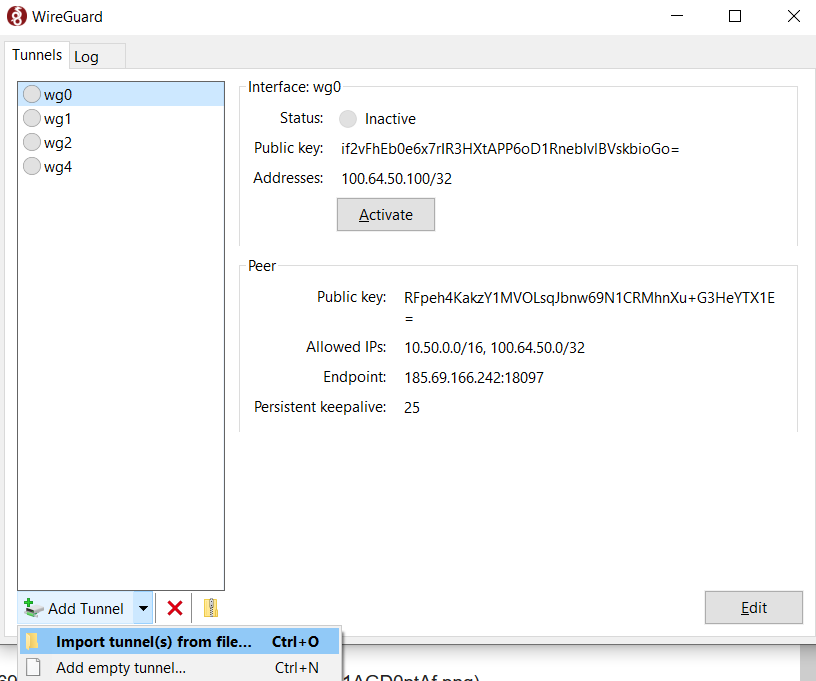
Once the wireguard tunnel is up, you can test connectivity by doing a ping test for your container IP address. Access the container with ssh using your private key.
ssh -i path_to_your_privatekey root@container_ip_address, For example ssh -i /opt/mysshkey root@172.20.10.5
The SSH public key should be provisioned during the container deployment.
Step 6 - Verify your Deployment
From the left side navigation panel, go to Deployed Solutions. You should see the name of your container
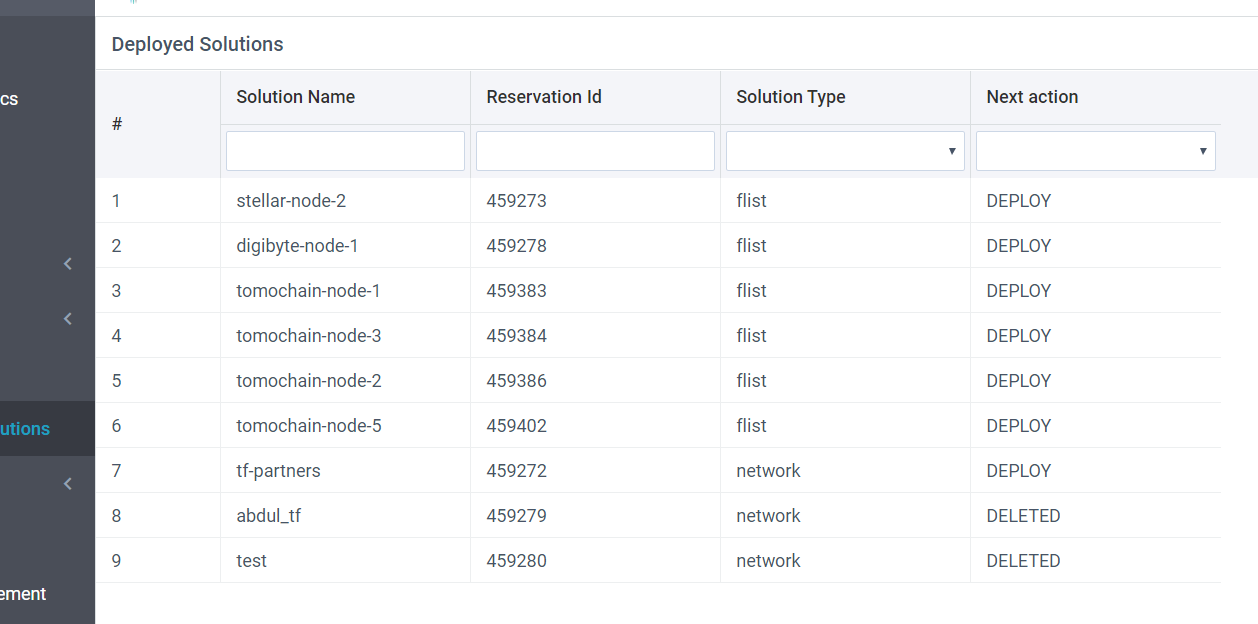
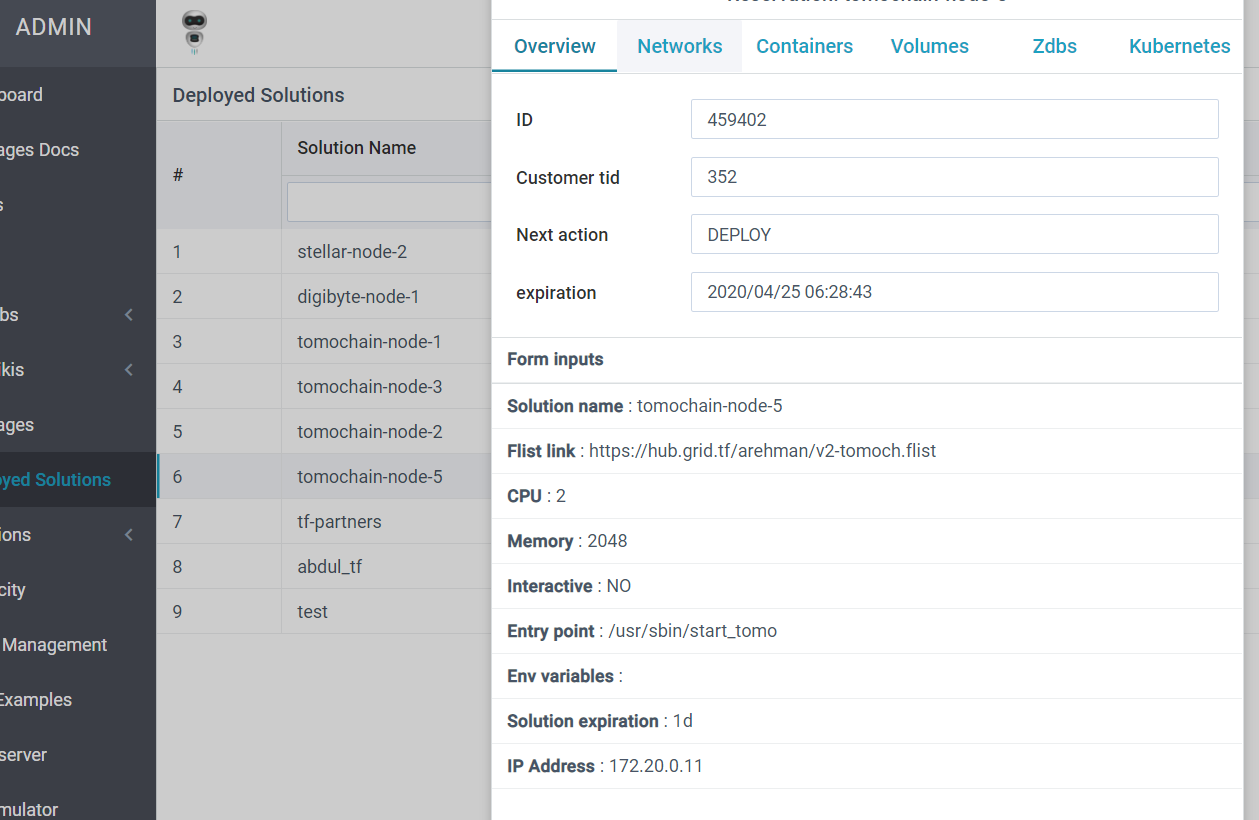
You can click the container name here to see details, Here is a view of it,
Inside the container, do a ps aux, you should see the tomochain daemon running,
root@zosv2tst-1:~# ps aux
USER       PID %CPU %MEM    VSZ   RSS TTY      STAT START   TIME COMMAND
root         1  0.0  0.0   3732   256 ?        Ss   06:29   0:00 bash /usr/sbin/start_tomo
root        13  0.0  0.0  15848   864 ?        Ss   06:29   0:00 /usr/sbin/sshd
root        14  0.0  0.0   2384   104 ?        S    06:29   0:00 /bin/sh /tomochain/entrypoint.sh
root        55 46.9  4.4 2741920 728088 ?      Sl   06:29   0:58 /usr/bin/tomo --syncmode full --datadir data --networkid 88 --port 30303 --keystore keystore --password password --identity
root        72  0.1  0.0  16780  4980 ?        Rs   06:31   0:00 sshd: root@pts/0
root        78  0.1  0.0   5748  1444 pts/0    Ss   06:31   0:00 -bash
root        81  0.0  0.0   9388  2952 pts/0    R+   06:31   0:00 ps aux

TomoChain configuration and data lives in /tomochain directory. You may want to mount it using a persistent volume when deploying the container.
root@tomo:/tomochain# tree -dh
.
|-- [4.0K]  data
|   |-- [4.0K]  keystore
|   `-- [4.0K]  tomo
|       |-- [4.0K]  chaindata
|       |-- [4.0K]  lightchaindata
|       `-- [4.0K]  nodes
`-- [4.0K]  keystore
Configuration can be changed as per requirements and you can re run tomo from command line by killing the old process first. Here is an example,
 tomo --syncmode "full" \
    --datadir $DATA_DIR --networkid $NETWORK_ID --port 30303 \
    --keystore $KEYSTORE_DIR --password $PASSWORD \
    --identity $IDENTITY \
    --mine --gasprice 250000000 \
    --bootnodes $BOOTNODES \
    --ethstats $IDENTITY:$WS_SECRET@$NETSTATS_HOST:$NETSTATS_PORT
Make sure to re-export the environment varables as shared above already.
That should be it ! This should get you started
Sources for TomoChain
TomoChain documentation is pretty neat and up to date.
https://docs.tomochain.com/masternode-and-dex/masternode/run-a-full-node/docker
https://docs.tomochain.com/masternode-and-dex/masternode/run-a-full-node/binary
https://docs.tomochain.com/masternode-and-dex/masternode/requirements