
Hello farmers,
I’d like to share a technique I developed for overwriting a node’s boot USB over the network using the iLO management system in HPE machines. A similar process might work with other systems like Dell’s iDRAC but I can’t speak to that. Also, I’ll be showing screenshots from iLO 4 and things might look different on a different version.
My two HPE mini servers are in the basement at my house, and sometimes I need to change their boot media to test something (like the farmerbot most recently). Rather than walk down there and disturb the spiders, I cooked up this method to boot a live Linux image and write the new media to the USB sticks.
Prep
Here’s what you’ll need:
- HPE system with iLO that you have access to (network connection and login credentials)
- Some live Linux ISO file to boot using the virtual media function. Small is best and I found that the Alpine Linux standard image works well. Get it here, Standard > x86_64
- Your new boot media in
.imgformat. Go to bootstrap.grid.tf and download either the EFI USB or the legacy USB option, to match whatever boot method you’re already using
iLO remote console
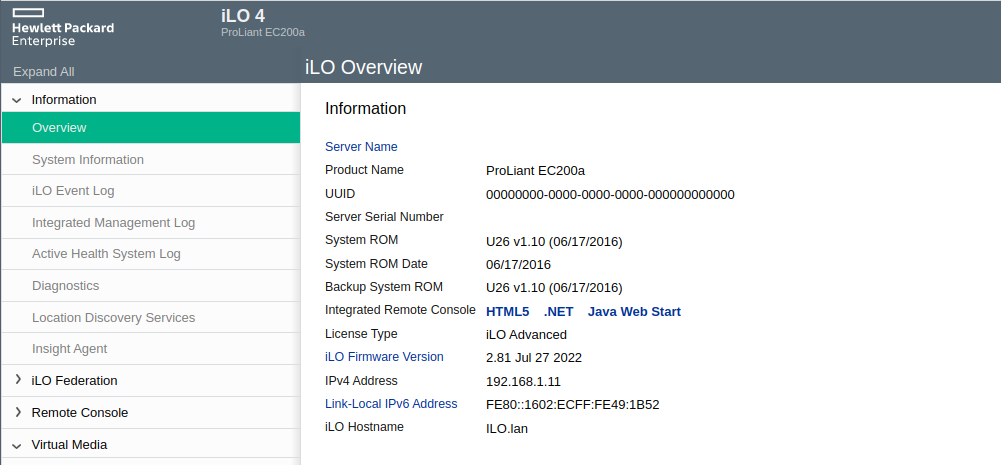
When you log into iLO, you’ll see the default page as shown below (or if not, select it). We want to open the HTML5 remote console using the link in the center of the page. If you don’t see that one, then do an update on iLO.
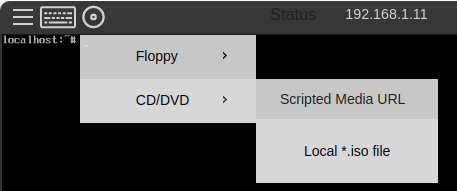
The console screen will open. In the upper left you’ll see a disk icon. Click it, and then under CD/DVD, click Local *.iso file. Now you’ll have a chance to select a file from your local computer. Select the Alpine Linux iso file you downloaded earlier.
After that, navigate to the Boot Order menu on the left under Virtual Media. Select CD/DVD Drive, then hit Apply. Now you can press Server Reset to reset the system. Note that you could also just reboot via the remote console and use the on screen menu to choose the CD/DVD drive as boot device, if you want.

Now the system is going to boot up, and if everything goes will it will boot from that Alpine Linux iso. This can take a while, since the iso is being uploaded from your computer over the network. Give it some time, and you should eventually see a login prompt.
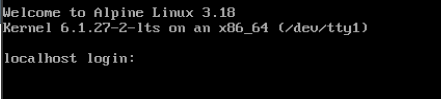
Just type root and hit enter. There is no password. If you ever have trouble typing into the remote console, just try closing it and opening it again. You’ll pick up right where you left off.
The next thing to do is check the disks connected to the system and figure out which one is your boot USB. Assuming you don’t have any other disk with the same size as the USB stick, just using the size is the easiest thing to do.
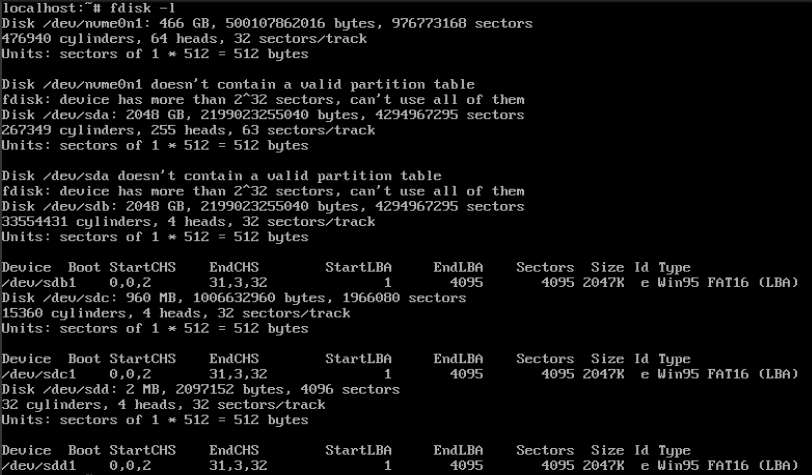
Run fdisk -l and inspect the output. Look for the lines that start with Disk, as highlighted below:
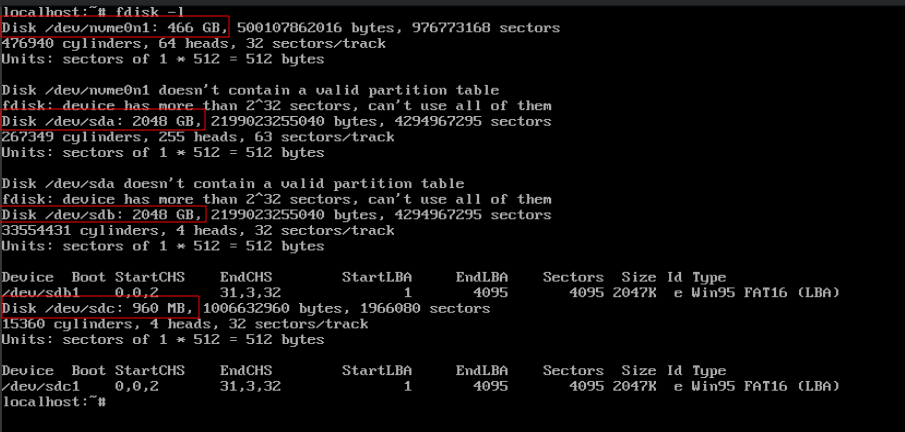
In this case, I know that my USB stick is 1gb, so I can positively identify it as /dev/sdc based on the size. You’ll also notice the type on the right side is listed as Win95 FAT16 only for this disk. Since Zos doesn’t use that type, this is a good hint too.
Now we’ll attach our new boot media using the same menu in the remote console that we used to attach the iso. Just choose Floppy this time:

Select the .img file from your local computer. Then you can run fdisk -l again. You should see a new disk, in this case it’s /dev/sdd:
To be sure, check the size: 2mb for the Zos boot image. Now copy the image to the USB stick with dd. Set the input file to the new boot image (/dev/sdd in this example) and the output file to the USB stick (/dev/sdc):
dd if=/dev/sdX of=/dev/sdY
It will work for a bit, then show this output when finished:

When that’s complete, you can reboot the system, either by typing reboot in the console or by issuing a reboot command through iLO (hamburger menu in the remote console window, or power section in the bottom right, for example). Before you do this, use the media menu to eject the .img file, just to make sure that the system actually boots from the USB stick:

Finished
The system should boot up with the new boot media. Keep an eye on the remote console screen to make sure that the Zos bootstrap that you intended to use was successfully copied on to the USB stick.
Did it work for you? Do you know a better way? Let me know in the replies 