After posting my CPU inventory, there were some questions about how to use the Reliable Message Bus to query information from 3Nodes. So, here’s the crash course!
Background and prerequisites
RMB is a protocol that runs over the Planetary Network (Yggdrasil), which is used in the ThreeFold Grid primarily for communication between nodes and grid users about deployments. For example, when a new deployment is created, the user authorizes the billing through a contract on TF Chain, but the specification for the workload itself is sent to the node over RMB. We can also use RMB to request some statistics from nodes or their DMI data which contains information about the hardware components in the system.
For the purposes of this tutorial, we’ll need:
- Linux environment
- Yggdrasil connectivity
- Local
redisserver (used by RMB) -
node.jsto run the RMB client we’ll be using - Mnemonics for a TF Chain account with activated Twin
It should be possible to run all of this in other *nix environments like MacOS, and maybe even on Windows, but I’ll be showing how to use a precompiled RMB binary for Linux. A grid VM with Planetary Network enabled is a suitable starting place that will come connected to Yggdrasil out of the box. I’ll assume we’re working with a fresh Ubuntu 22.04 full VM.
Install
First we’ll update our package list and install our packaged prerequisites:
# apt update
# apt install redis nodejs npm unzip
Next we’ll get redis running in the background and check that it responds to a ping:
# systemctl start redis
# redis-cli ping
PONG
There are multiple versions of RMB written in different programming languages. We’ll grab the contents of the vlang based repository which contains the nodejs client, and also download the binary from the Go version’s releases page:
wget https://github.com/threefoldtech/rmb/archive/refs/heads/master.zip
unzip master.zip
wget https://github.com/threefoldtech/rmb_go/releases/download/v0.2.1/msgbusd
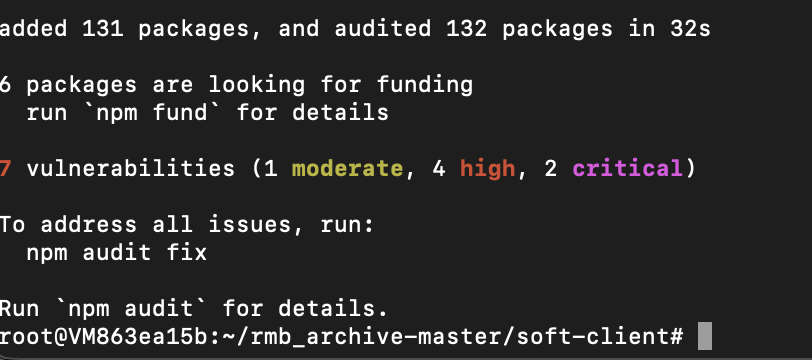
We’ll also install all dependencies for the client with npm (don’t worry about warnings that we have the wrong version of node–it will work for our purposes):
cd rmb-master/soft-client
npm install
Config
When we invoke RMB, we need to pass in our TF Chain mnemonics to facilitate communication to and from our Twin. The IP address for the Twin also needs to match so we can receive incoming responses.
If you’re using a VM or haven’t already set your Twin’s IP address to the Planetary Network address of the machine your using, go to the dashboard and do that now. Since I deployed my VM in the playground, I can find its Planetary IP in the deployment details.
Now, let’s try launching RMB:
cd
chmod u+x msgbusd
./msgbusd -mnemonics "YOUR WORDS HERE"
It should show you that it’s connected to mainnet TF Chain and show your Twin id. You can connect to a different network by setting the TF Chain address like this (make sure your Twin is also properly configured on that network):
./msgbusd -substrate wss://tfchain.test.grid.tf -mnemonics "WORDS..."
Kill msgbusd with ctl-c, then launch it again in the background, sending output to a log file:
./msgbusd -mnemonics "WORDS..." > rmb.log 2>&1 &
The terminal-fu here just redirects both standard output and standard error to the file rmb.log and puts the process in the background so we can execute other commands. It’s also perfectly okay to leave the process running like it was above and continue in another terminal window or SSH session.
Run
Finally, we’re ready to try sending some messages over RMB and see if we get a response. Let’s navigate into the client folder:
cd rmb-master/soft-client
Here we’ll find a client.js file that includes a few examples of what we can do with RMB. Let’s create a new file that just sends a single message and prints the response. Place the following into a new stats.js file:
const { MessageBusClient } = require('./msgbus')
const mb = new MessageBusClient(6379)

const message = mb.prepare("zos.statistics.get", [7], 0, 2)
mb.send(message, "")
mb.read(message, function (result) {
  console.log("result received")
  console.log(result)
  process.exit()
})
With this snippet we’re sending the zos.statistics.get command to Twin with id 7. This is the Twin of node 1 on mainnet, as we can see using Grid Proxy: https://gridproxy.grid.tf/nodes/1. You can modify that url with a different node id to find the Twins of other nodes. Then it will log the responds, or an error, to the console.
Let’s try it out:
node stat.js
If everything worked well, we should see a reply received like following:
Reply: 1
result received
[
  {
    ver: 1,
    uid: '7.2',
    cmd: 'zos.statistics.get',
    exp: 0,
    try: 2,
    dat: '{"total":{"cru":56,"sru":2000409772032,"hru":144001663500288,"mru":201863462912,"ipv4u":0},"used":{"cru":7,"sru":475755708416,"hru":0,"mru":82938638611,"ipv4u":3}}',
    src: 7,
    dst: [ 8011 ],
    ret: 'b42efdb5-54e3-418f-9fb0-00db9e951772',
    shm: '',
    now: 1671131946,
    pxy: false,
    err: '',
    sig: '65c2774177ff69bd4e5ec809a2c780dae9143b57f8f7ad46228a86c00ec588e84c402a9ac28ab5caf395979ae60476e0af9aa33f22f19b96121f92990b81e74f04'
  }
]
We can try another command, like retrieving the DMI info, by changing the part of the file containing zos.statistics.get to zos.system.dmi. Make another file, dmi.js, and enter these contents:
const { MessageBusClient } = require('./msgbus')
const mb = new MessageBusClient(6379)

const message = mb.prepare("zos.system.dmi", [7], 0, 2)
mb.send(message, "")
mb.read(message, function (result) {
  console.log("result received")
  console.log(result)
  process.exit()
})
Then run it with:
node dmi.js
The output of this will be rather long, so I won’t post the example. It comes formatted as json, so you could work with this inside of a program, for example to fetch the types of cpus in the node as I did for CPU inventory.
Well, that’s all for now. Please let me know if you found this post helpful or if anything is unclear.